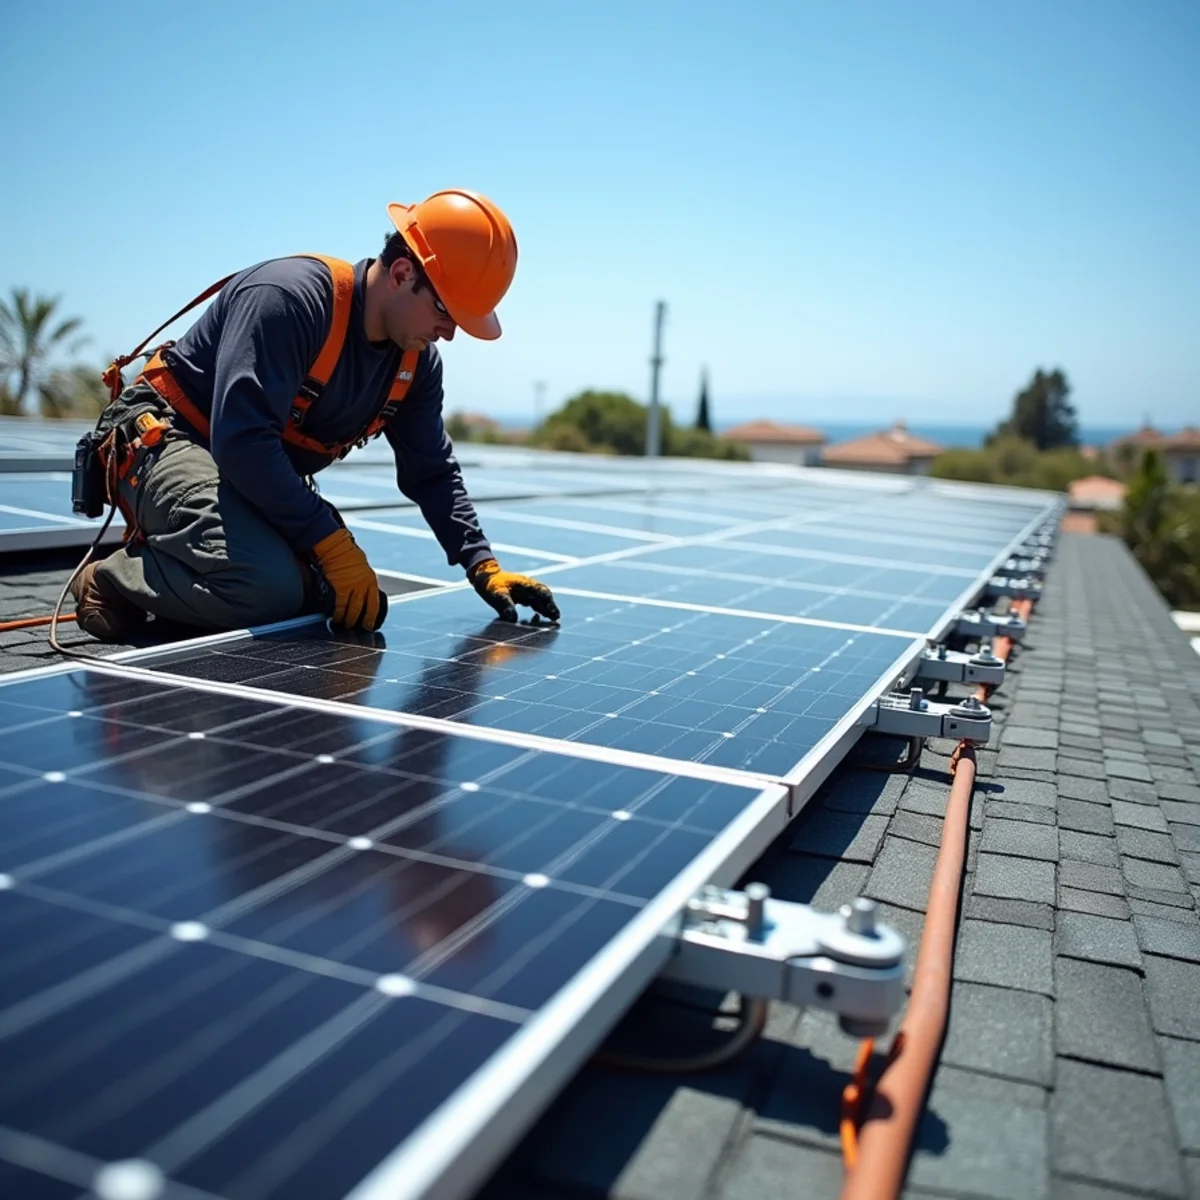
Solar and roofing are two decisions that are easy to make separately and expensive to get out of order. Many homeowners mount panels on a roof that is closer to the end of its life than they realize, then pay to remove and reinstall the whole array a few years later when the roof finally needs replacing. A little planning up front avoids that bill. This guide covers how to think about your roof for solar panels — the timing, the materials, and what it means to make a roof solar-ready.
Roof age vs solar timing
The single most useful question to ask before adding solar is how much service life your roof has left. Solar panels are typically designed to stay in place for a long span of years, often on the order of a couple of decades. If your roof cannot comfortably outlast the array, you are setting up a conflict between two long-lived systems running on different clocks.
When a roof is near the end of its useful life, replacing it before your solar installation is almost always the sounder move. It avoids the cost and hassle of detaching and reinstalling the system later, and it lets the roof and the panels share one clean timeline. When a roof is relatively young and in good condition, solar can often be added without a replacement first — the point is to make that call deliberately, ideally after an inspection, rather than discovering the mismatch once the panels are already up.
Making a roof solar-ready
A solar-ready roof is one that has been thought through for panels from the start, even if the panels come later. That framing matters: rather than treating solar as something bolted on after the fact, you plan the roof so that adding an array is straightforward and does not compromise the roof's ability to keep water out. Making a roof solar-ready usually touches a few areas:
- Structure — confirming the roof framing can carry the added weight of a mounting system and panels.
- Layout — leaving suitable, well-oriented roof planes clear of vents and obstructions where panels would sit best.
- Attachments and flashing — planning penetration points so mounts are properly flashed and integrated, not just sealed with a bead of caulk.
- Electrical pathways — allowing for conduit routing so a future installer has a sensible path to work with.
Materials that pair well with solar
None of that requires you to install solar immediately. It simply means that if you are replacing or installing a roof now and see panels in your future, the roof can be built to welcome them later with far less rework. Most common roofing materials can host solar, but they are not all equally simple to work with, and the mounting approach differs by material:
- Asphalt shingle — the most straightforward and common surface for standard panel mounts, with well-understood flashing methods.
- Standing-seam metal — pairs especially well, since many mounts clamp to the seams without penetrating the roof at all.
- Tile — workable, but mounting on clay or concrete tile takes more care and specialized hardware to avoid cracking tile and to flash penetrations properly.
- Low-slope membranes — panels are typically set on ballasted or specially detailed racking to preserve the waterproof surface.
Coordinating roofer and solar installer
For a coastal Oceanside home, the same corrosion considerations that shape any roof apply to the solar hardware too — mounts and fasteners exposed to salt air should be corrosion-resistant. A material that pairs cleanly with solar and holds up to the coast is the combination worth aiming for.
Some of the most avoidable solar problems come down to two trades not talking to each other. The roofing contractor is responsible for keeping water out; the solar installer is responsible for the array. When penetrations are made without proper flashing, or when the two schedules are not coordinated, the roof is where the trouble shows up later. If you are replacing the roof and adding solar around the same time, sequence them deliberately — generally the roof first, then the array — and make sure whoever mounts the panels understands how the roof is built and how its flashing works. The goal is a single coordinated plan rather than two separate projects that happen to land on the same roof.
Avoiding remove-and-reinstall costs
The costliest solar mistake is a quiet one: putting a long-lived array on a roof with only a few years left. When the roof finally needs replacing, the panels have to come off and go back on, adding a substantial expense that a little foresight would have avoided entirely. Framing the decision around timing is how you sidestep it.
California has, in recent years, moved toward requiring solar readiness or solar provisions on many new homes as part of its building standards, and those requirements continue to evolve. Rather than rely on any specific version of the rule, confirm what currently applies to your project with the appropriate California authorities or your local building department. Whatever the mandate, the underlying advice for your wallet is the same: address an aging roof before the panels go on, build the roof to be solar-ready if solar is anywhere in your plans, and coordinate the two trades so you pay to mount the array once. If you are also weighing energy standards, our overview of cool roofing in California is a useful companion, since a new roof is the natural moment to handle both.
Frequently asked questions
Sources & further reading
- California solar-ready guidance
This article is general guidance. Confirm current code, permit, Title 24, insurance and warranty specifics with the relevant authority for your project.