When a wind or storm event roughs up your roof, the paperwork can feel almost as daunting as the damage. The good news is that a strong claim usually starts with something you can begin the same day: clear, honest documentation. This guide walks you through what to photograph, what to write down, how the claim process generally moves, where a roofing contractor genuinely helps, and the schemes worth steering clear of.
One thing we'll say plainly up front, and repeat, because it matters more than anything else here: the coverage decision rests entirely with your insurance company. No contractor can promise your claim will be approved, and anyone who does is telling you what you want to hear rather than the truth. What a good contractor can do is help you show your insurer an accurate, well-organized picture of what actually happened.
Start with safety — document from the ground
The single most important rule after a storm is this: do not climb onto the roof. A roof that has just taken wind, rain or debris can be slick, loose underfoot, or weakened in ways you can't see from above. Steep pitches, wet tile and lifted shingles send people to the emergency room every storm season, and a fall is a far worse outcome than a delayed photo.
Almost everything a homeowner needs to document can be captured safely from inside the house, from the ground, or from a window or balcony. If damage is high up or hard to make out, that's exactly the point where a professional with the right equipment — or a drone — should take over. Your job is to record what you can reach safely and leave the rest to someone trained for it.
What to document after the storm
Insurers weigh evidence, and the clearer your evidence, the smoother the conversation tends to go. Aim to capture damage on the day of the event, or as soon as it's safe, while conditions are fresh and the link between the storm and the damage is easy to see. If your phone can stamp photos with a date and time, leave that setting on. As a quick overview, you'll want to gather:
- Interior photos and video of water stains, drips, bubbling paint or sagging on ceilings and walls, plus the room directly below the damage
- Attic shots of wet insulation, damp decking (the wood layer the roof is built on) or daylight showing through
- Ground-level exterior photos of anything visibly off — missing or lifted shingles, cracked or slid tiles, debris, or torn flashing (the metal that seals joints and edges)
- The date, time and nature of the storm, along with any weather alerts or news you can save
- A written note of the steps you took to limit further damage, with receipts
Interior: stains, ceilings and the attic
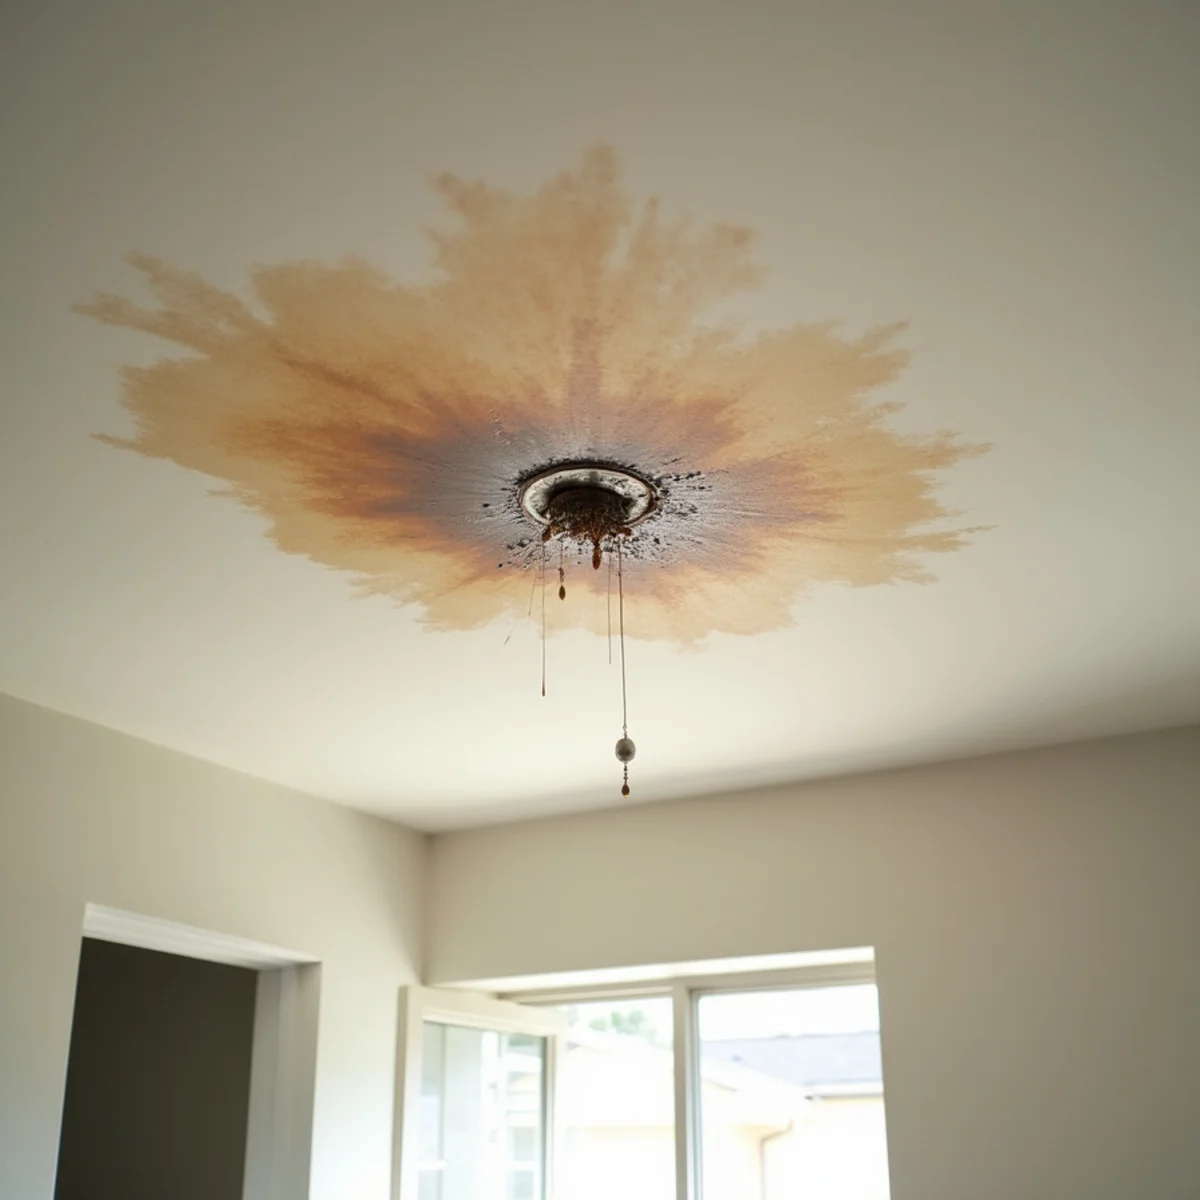
Interior damage often tells the clearest story, and it's frequently the largest part of a claim — drywall, insulation, paint, flooring and belongings can add up faster than the roofing itself. Photograph every water stain on ceilings and walls, then step back and shoot the whole room so the adjuster can see where the damage sits. A slow video walkthrough, narrating what you're seeing, captures context that stills can miss.
If you can safely reach the attic, look for wet or matted insulation, dark streaks on the underside of the decking, or pinpoints of daylight — all signs the roof was breached. Note the date you first noticed each issue, since a sudden appearance right after a known storm supports the timeline your insurer will ask about.
Exterior and the storm record
From the ground, walk the perimeter of your home and photograph whatever the storm left behind: shingles or tiles in the yard, a visibly bare or dented roof plane, bent gutters, downed limbs on or near the roof, and torn or lifted flashing you can see from below. Take a few wider shots that show the whole elevation for context, then move in closer on the specific damage. If hail was involved, photograph a stone next to a coin or ruler for scale before it melts.
Just as important is the storm itself. Write down the date and roughly the time, and save whatever record you can — a weather-service alert, a radar screenshot, or a local news report from that day. That outside record connects your damage to a specific, sudden event, which is the heart of a storm claim.
Take reasonable steps to limit further damage
Most policies expect you to take reasonable steps to keep a bad situation from getting worse — often called your duty to mitigate. In practice that can mean having a professional place a temporary tarp over an opening, moving furniture out from under an active leak, or setting out buckets to catch water.
Two habits make this go smoothly. First, photograph the damage before you cover or clean anything, so the original condition is on record. Second, keep every receipt — tarps, materials, a temporary repair — because reasonable mitigation costs are often reimbursable, and you'll want them documented. What you should not do is undertake permanent repairs before your insurer has had a chance to inspect; fixing everything first can leave you without the evidence the adjuster needs.
Keep your documentation organized
Once you file, you'll be juggling a claim number, an adjuster's name and contact details, your photos, your notes and any contractor paperwork. Pull all of it into one place — a single phone album or a labeled folder on your computer works well — and keep a short running log of every call and email, with dates.
When your adjuster arrives, being able to hand over an orderly packet rather than scrolling through your camera roll sets a professional tone and lowers the chance something important is overlooked. It also protects you if the claim drags on: a clear paper trail is your best friend if you ever need to follow up on a delay or a disagreement.
How a roof storm-damage claim generally works
Every carrier runs its own process, but most claims move through a familiar set of stages. Knowing the shape of it helps you see what's coming and when to act.
- Report promptly. Policies limit how long you have to report damage, and the window can be shorter for wind or hail. Read your policy — the declarations page and claims section spell out the timeframe — and when in doubt, report sooner rather than later. Waiting makes it harder to tie the damage to a specific storm, and a late report can jeopardize an otherwise valid claim.
- The insurer assigns an adjuster. An adjuster is the insurance company's representative who inspects the damage and estimates what the policy will pay. They may review your photos and, in many cases, visit in person.
- The adjuster builds a scope. The scope is the itemized list of damage and repairs the insurer agrees to pay for. This is the pivotal document — damage that doesn't make it into the scope generally doesn't get paid, which is why thorough documentation, and often having your roofer present, matters so much.
- You receive an estimate and a decision. The insurer issues its estimate and, if the claim is approved, a payment minus your deductible. If something was missed or the estimate looks short, you can usually ask for a re-inspection or supplement it with more evidence.
How a roofing contractor can help — without overpromising
A good roofing contractor supports your claim by documenting reality clearly, not by working the system. Here's the honest version of what that help looks like:
- Provide a written damage report with dated photos and a plain assessment of what the storm did
- Install temporary protection, such as a tarp, if the roof is open to further water entry
- Explain, in plain terms, what an adjuster commonly looks for, so you aren't caught off guard
- Be on-site during the adjuster's inspection to walk through the damage and make sure nothing on the roof is overlooked
What a contractor cannot do is decide your claim or guarantee an outcome — those are the insurer's call. Be wary of anyone who blurs that line. Phrases like "we'll handle everything" or "we'll get you a free roof" are a signal to slow down. We'll walk you through the documentation and give you an honest report; the coverage decision stays where it belongs, with your insurance company.
What storm damage insurance tends to cover — and what it doesn't
In broad terms, homeowners policies are built to cover sudden, accidental damage from a specific event — what insurers call a covered peril. Wind, wind-driven rain, hail and damage from a fallen tree limb usually fall into that category. What policies generally don't cover is gradual decline: normal wear and tear, an aging roof that has simply reached the end of its service life, damage traced to deferred maintenance, or problems that clearly pre-date the storm.
This is the distinction adjusters are trained to draw — sudden loss versus slow deterioration — and it's why documentation that ties damage to a specific event carries so much weight. A roof that was already worn before the storm can complicate a claim, which is one more reason routine upkeep and a record of your roof's prior good condition are worth keeping. Every policy is different, though, and exclusions vary, so your own policy language and your insurer's determination are what ultimately govern.
Understanding your payout: deductible, ACV and RCV
Two features of your policy shape what actually lands in your pocket. The first is your deductible — the amount you cover before insurance pays. Some policies carry a separate, higher deductible for wind or hail, sometimes set as a percentage of your dwelling coverage rather than a flat figure, so it's worth checking your declarations page before you assume a number. The second is how your roof is valued:
- Actual Cash Value (ACV) pays replacement cost minus depreciation — the value the roof has lost to age and wear. On an older roof, that deduction can be sizable, leaving a larger share for you.
- Replacement Cost Value (RCV) pays the full cost to replace, minus your deductible, regardless of the roof's age. RCV policies often release the depreciated portion — the "recoverable depreciation" — after the work is completed and documented.
Knowing which type you carry sets realistic expectations. We won't quote you a figure — what a project costs depends on the specific roof and is best pinned down by an on-site evaluation — but understanding ACV versus RCV tells you how much of that cost your policy is designed to carry.
Red flags: storm chasers and deductible schemes
After a big storm, out-of-town crews often canvass neighborhoods looking for quick claims. Some are legitimate; many are not. A few patterns should put you on guard:
- An offer to waive, absorb, or "rebate" your deductible. This is the biggest red flag of all — it's widely illegal and is a form of insurance fraud, and as the policyholder you can be left holding the liability.
- Pressure to sign a contract on the spot, before any real inspection or before you've spoken with your insurer.
- Door-knocking right after a storm with urgent, today-only language.
- Out-of-state plates, no local address, and no way to reach them once the check clears.
- A promise that your claim is guaranteed to be approved — no one can honestly make that promise.
The through-line is pressure and too-good-to-be-true offers. A trustworthy contractor is comfortable with you taking your time, reading your policy, and dealing directly with your insurer. If someone is rushing you, that's your cue to step back.
The Oceanside angle: coastal wind and wear-and-tear disputes
Storm claims here have a local flavor. Oceanside roofs mostly weather wind rather than the heavy hail of other regions — Santa Ana events can drive hot, dry gusts strong enough to lift shingles, crack tile and fling debris, and it's this sudden wind damage that most often anchors a claim.
At the same time, the coast's everyday conditions — salt-laden air, the lingering marine layer, and steady UV — quietly age a roof, corroding fasteners and flashing and weathering surfaces over the years. That background wear is exactly what an adjuster may point to when weighing sudden damage against gradual decline. It's a fair reason to keep up with maintenance and hold onto records showing your roof was sound before the storm, so that when a wind event does hit, the storm's damage stands out clearly against a roof that was otherwise in good shape.
A simple order of operations after a storm
When the wind settles, a calm sequence beats a scramble. Work through it roughly in this order:
- Make sure everyone is safe, and stay off the roof.
- Photograph and video the interior, the room below, and the attic if you can reach it safely.
- Walk the ground and document visible exterior damage and any debris.
- Save the storm's date and any weather record you can find.
- Take reasonable steps to prevent further damage, and keep the receipts.
- Report the claim to your insurer within your policy's window.
- Arrange a professional inspection and a documented damage report.
- Keep everything organized in one place and log your calls.
None of this guarantees an outcome — that's the insurer's decision — but it gives your claim the clearest, most honest footing, and it's the part you control. When you're ready, we'll walk you through the inspection and put together a straightforward damage report so there are no surprises.